


Overview
Google Ads is a very popular marketing tool that businesses use to market their products and services and gain potential leads for nurturing. Google Ads Lead Integration App helps users get their Google Ad leads directly in Kylas account as a Lead or Contact.
How Will It Work?
Please follow the below steps to setup the app for Lead integration-
Install application:
- Click ‘Install App’ button on the Kylas Marketplace app Details page
- Give the necessary permission required for the application and hit ‘Allow and Install’
- After the app is installed, sign up on the application with your Email account.
- Verify the Email by clicking on the verification link received in Email
- After verification navigate to Kylas Marketplace → Installed apps → Google Ads Lead Integration
- Login with your credentials
Enter Kylas API key:
- Navigate to the “API Keys” section of the app
- Enter Kylas API key. To get the API key, login with your Tenant account and click here
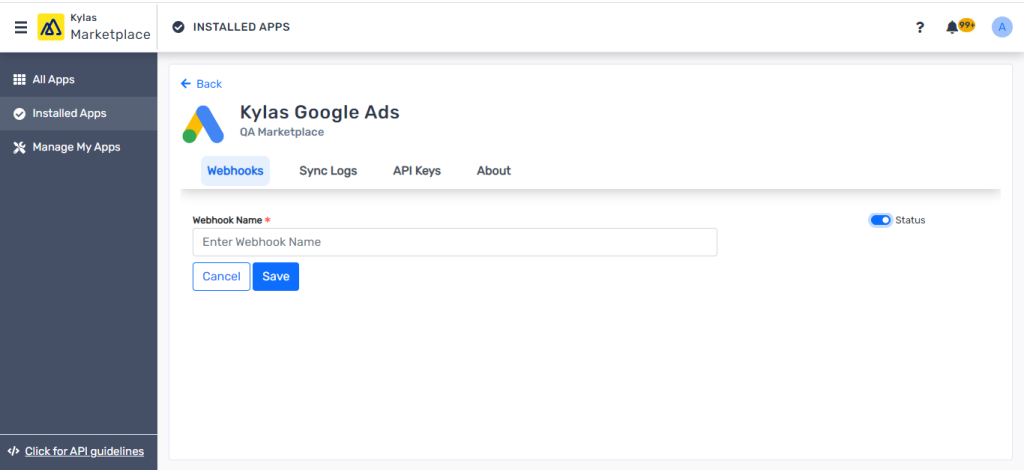
Create Webhook URLs:
- After adding the API key, navigate to “Webhooks” section
- Click “New Webhook”
- Enter the Webhook name and make status as active by turning the toggle ON
- Click “Save”
- A Webhook URL will be generated and you will be taken to the “All Webhooks” listing page
Map Fields:
In order to get the Google ad Leads in Kylas, users need to map the Google ad form fields with Kylas Lead and Contact fields by following below steps:
- Click “Map Fields”
- Select which entity/entities out of Lead and Contact you would like to create in Kylas when a new enquiry comes from Google ad
- Map the Google Ad fields with Kylas Leads and Contacts fields to choose the correct field of Kylas Leads/Contacts to capture the respective form field information of Google Ad
- You can also map some fixed fields to capture additional information like Source, Campaign, Products/Services, Owner and other UTM fields.
Setup webhook on Google Ads form:
In order to get the data from Google Ads, a Webhook URL needs to be setup with all Google ad forms. Please follow below steps to setup webhook:
- Copy the webhook URL and paste it on the Google ad form Leads assets as mentioned in the following article how to add a webhook integration to a new lead-form
- Try to pass a test data and check whether Lead or Contact is getting created in Kylas
Sync Logs:
Sync logs help users to view the history of Leads coming ffom Google ad form and respective entities created in Kylas:
- Login to Google Ads Lead integration application
- Navigate to “Sync Logs”
- You can also see the error messages in the “Error” column for the instances where entity creation in Kylas failed due to any reason.
- You can click on the “Details” button to view the data coming in from Google Ads