


Overview
Digio is providing paperless, hassle-free documentation. With Digio integration with Kylas, users can send e-KYC requests to their Leads and Contacts and send documents for e-sign from Kylas and can view the updated status and download the signed documents.
Install the app:
- Click the ‘Install’ button on the application details page and grant the required permission.
- Signup and sign in.
- After successful installation, create an account on the Digio Marketplace app with your email ID.
- Verify the email by clicking on the verification link sent in your email and create a password for your account.
- Navigate to Kylas Marketplace - installed apps - View details button of Digio marketplace app.
- Enter your email ID and password to login.
Enter Kylas API key:
- After login into the application, navigate to the ‘API keys’ section.
- Enter your Kylas account API key.
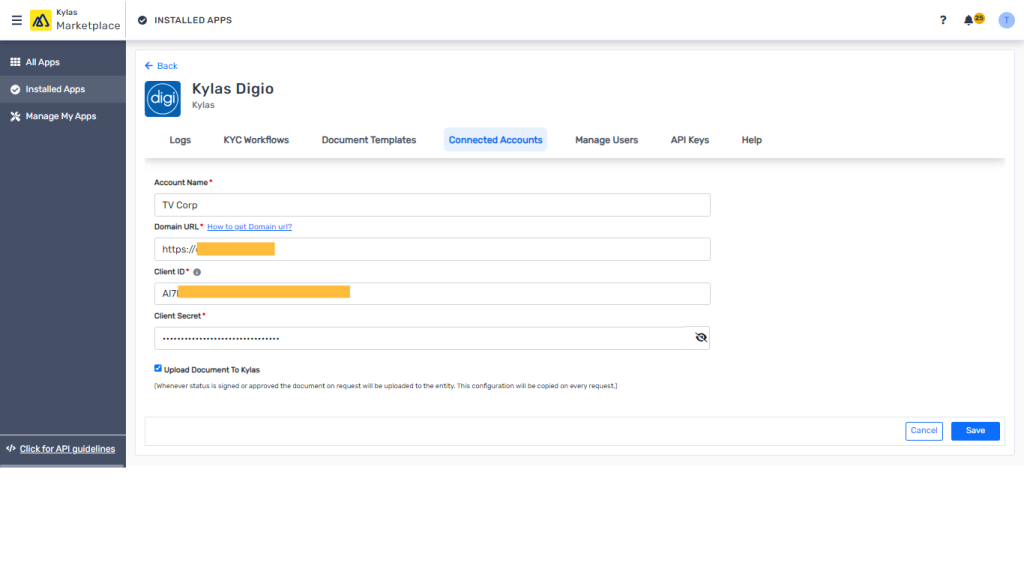
Connect account:
Connect your Digio account to start sending e-KYC and Documents for signing from Kylas. Follow the below steps to connect your account:
- Go to Connected Accounts.
- Click on Connect Account.
- Fill in the required information to connect your Digio account & and click on save.
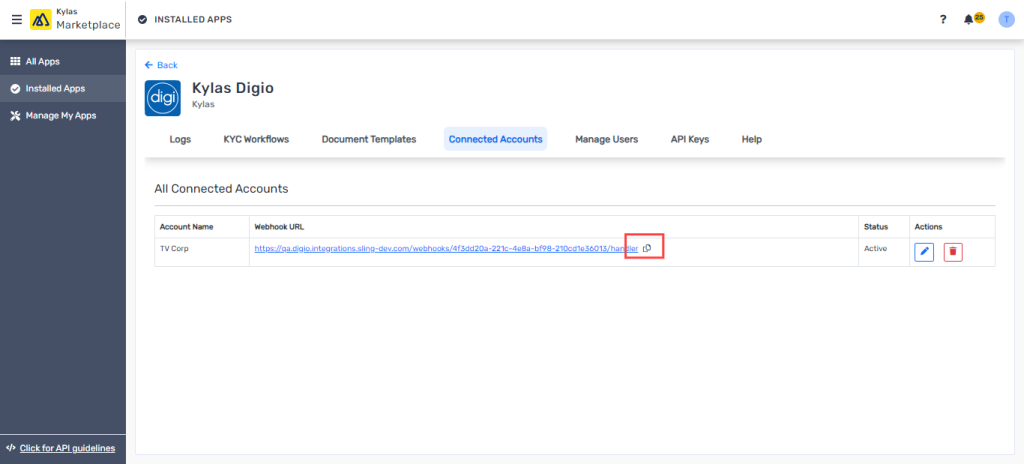
Configure Webhook URL in Digio:
Configure webhooks in in Digio to let the KYC request status be updated automatically in Kylas.
- In the Kylas marketplace app, Go to the Connected accounts page and copy the webhook URL.
- Go to your Digio account and click on my profile.
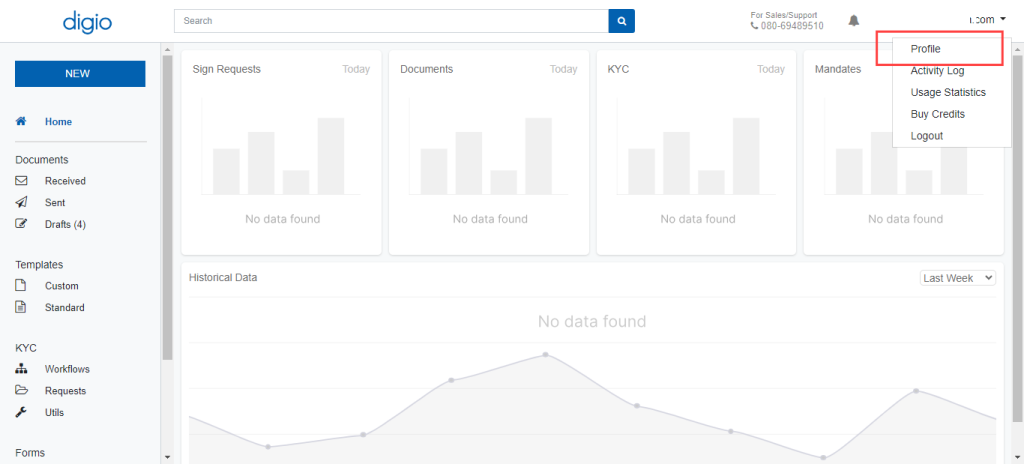
- Go to Webhooks.
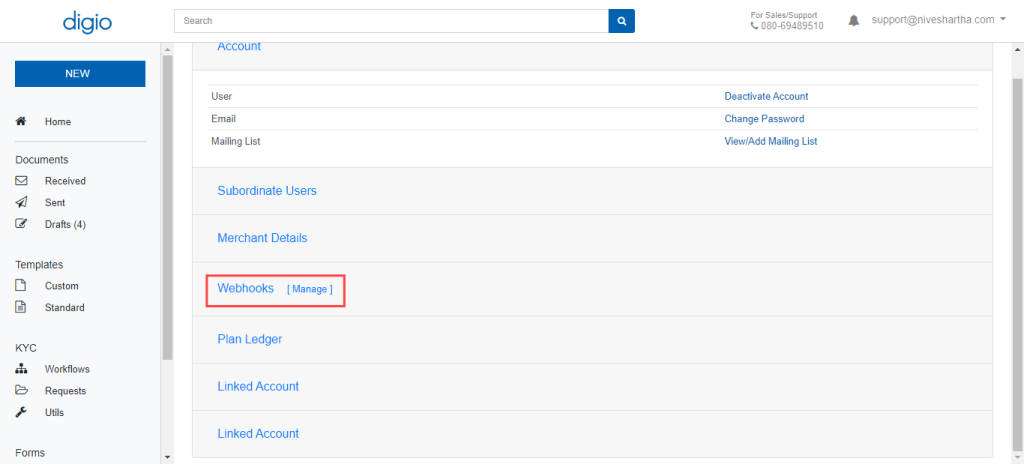
- Now paste the copied URL in Webhook and subscribe to the following events:
For KYC request :-
- Kyc.request.approved
- Kyc.request.completed
- Kyc.request.created
- Kyc.request.expired
- Kyc.request.rejected
- Kyc.request.review.ready
- Kyc.request.terminated
For Doc updates:-
- Doc.signed
- Doc.sign.failed
- Doc.sign.rejected
- Sign.v3.sign.failed
- esign.v3.sign.pending
Manage Users:
You can add those users in the application to whom you want to give access to create KYC and e-sign request.
- Go to manage users.
- Click on fetch users.
- And invite those users whom you want to add to the application.
- The invited users will receive a link in their email, by clicking on the link they can set their password which can be used to login after installation of the app in their Kylas account.
KYC workflow:
KYC workflows allow you to define your KYC request process added to your Digio account once the KYC request has been sent to end customers.
- Go to the KYC workflows tab.
- Click on the Add KYC workflow button.
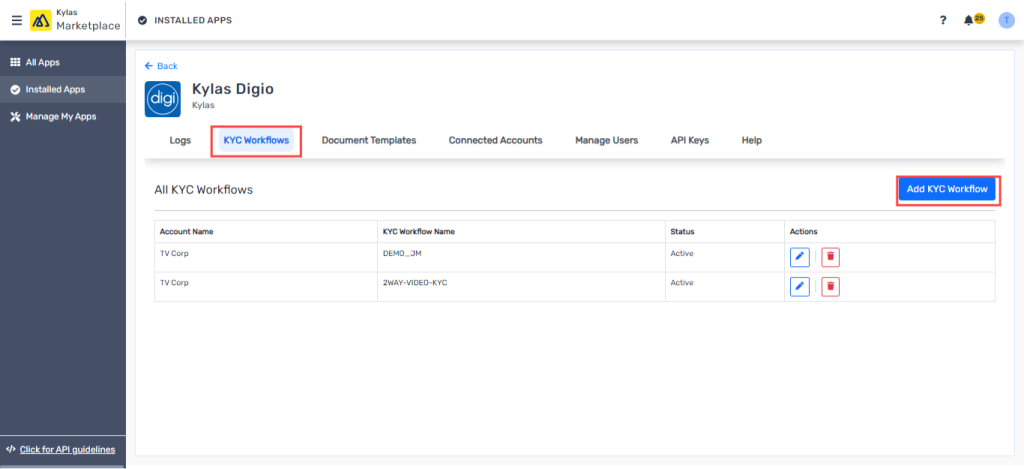
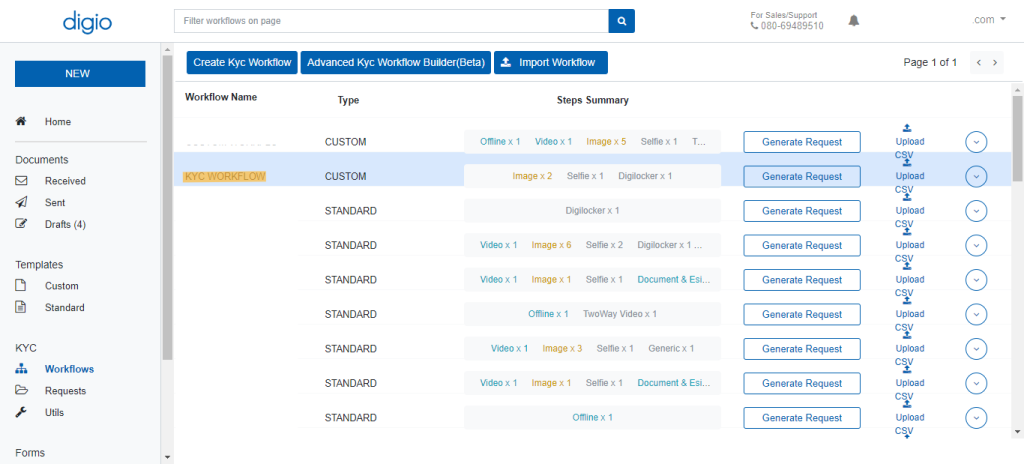
- Copy the Digio workflow name and paste it into the add workflow page of the Digio marketplace app and save the workflow.
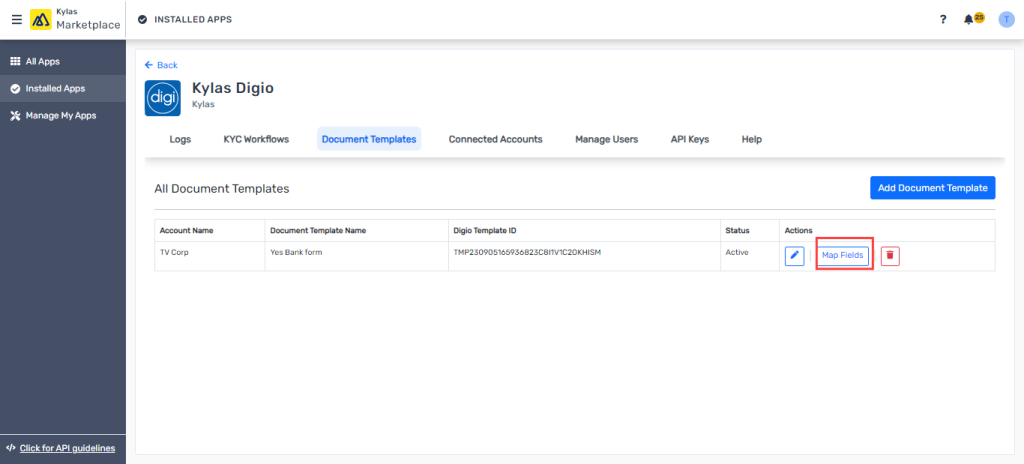
Add Document Template:
Adding a document to the Digio app will help you to replace your variable values with respect to the customer’s data available in Kylas and will let you send the required document for e-sign.
- Go to the Document templates tab.
- Click on Add document template.

- Enter the Document name and template ID into respective fields and click on save.
- Your document might consist of some variables like the name of the customer, date of the agreement, company name, etc. You can replace those values directly while sending an e-sign request to your end customer.
- To map the variable fields, go to map fields.
- Map all your Kylas fields with Digio fields.
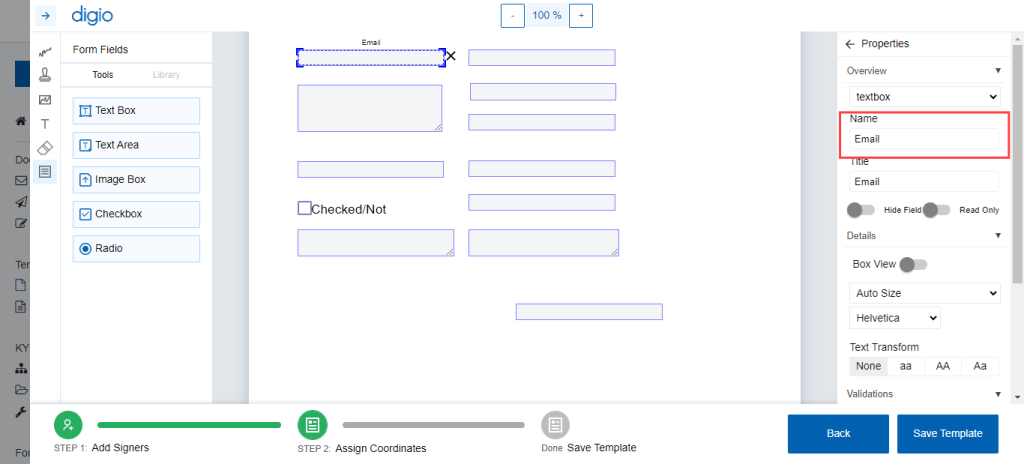
- To get the Digio fields go to Digio go to Digio documents click on “Edit in Template editor” and check the field type and label of the field.
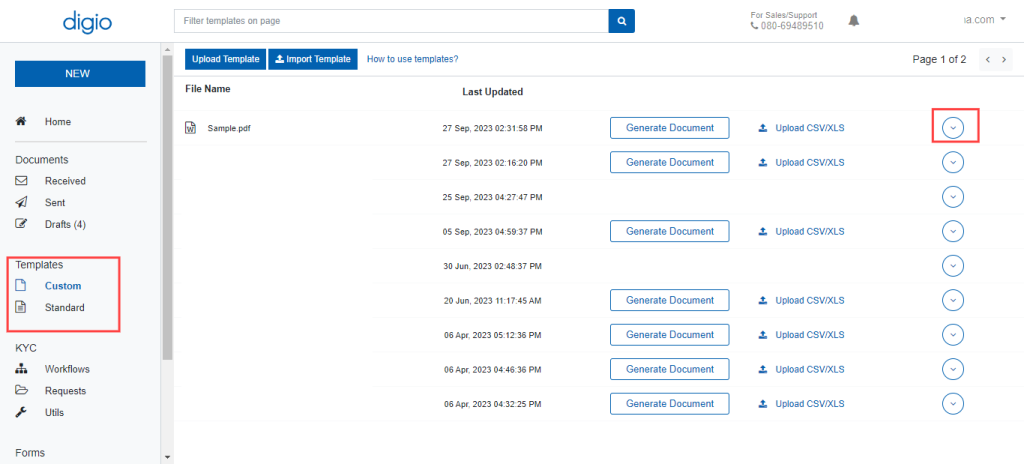
- Go to fields.
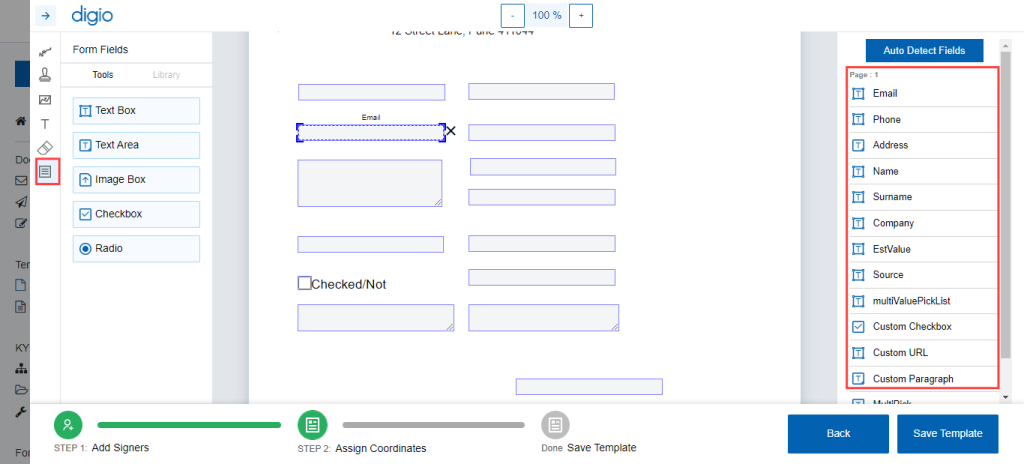
- Select any field you want to map from the listing, copy the name of the field, and paste it into the Digio marketplace app field mapping.
- Now save the template with all the required variables so that values will be auto-replaced when the user is sending the document for e-sign.
Create KYC Request:
- Go to the Lead/contact details page.
- Click on the more action button.
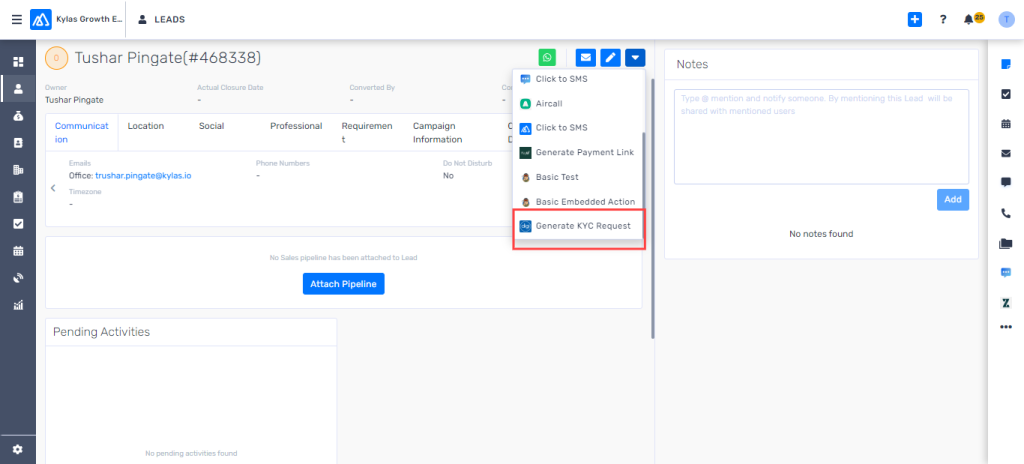
- Click on Generate KYC request.
- Select the workflow from the drop-down and fill in the required information on the below form.

Generate Document for e-sign:
- Go to the Deals details page.
- Click on the more action button and click on Send document.
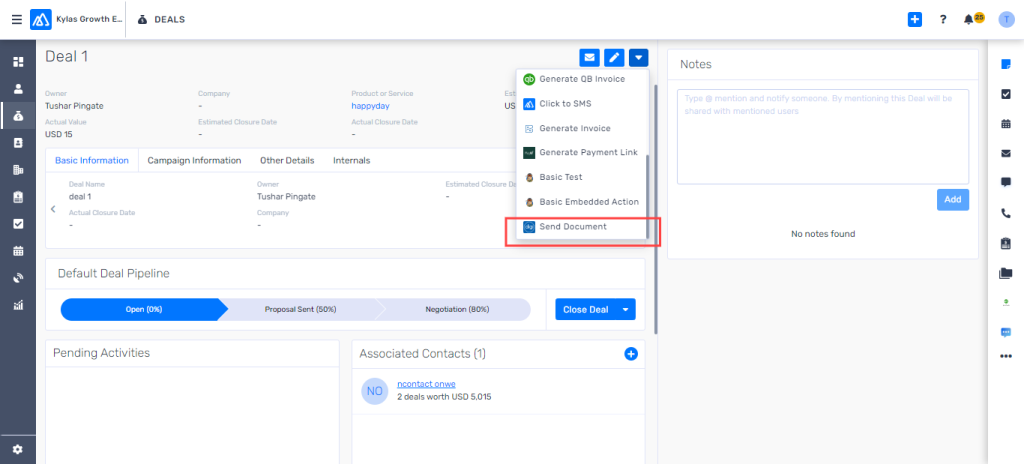
- Select contact and other relevant information.
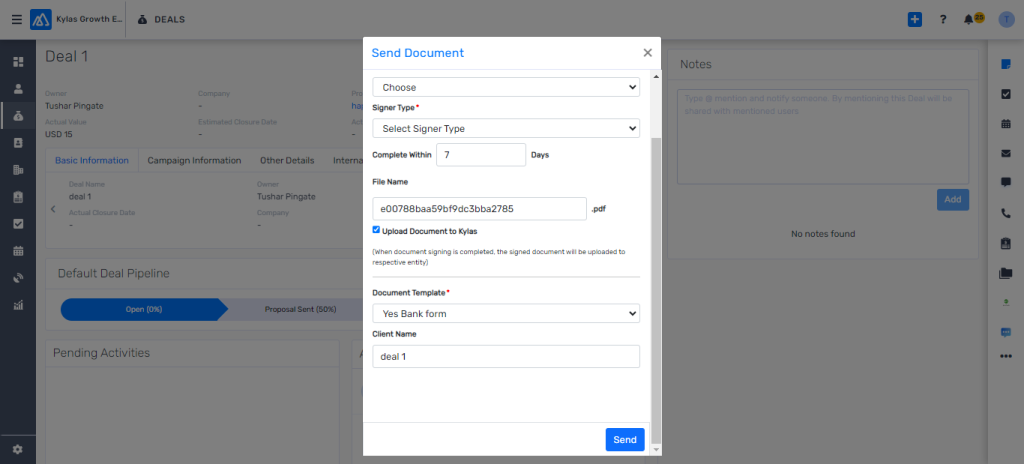
- Select the document that you want to send to the end customer
- Check all the auto-filled information in the fields added while adding the document.
- Click on Send.